数据库访问
我们先使用SQLlite数据库来看看如何初始化一些资源。python内建了sqlite3 模块。我们使用这个模块来进行一些数据的保存。使用SQLite 可以不用启动独立的数据库服务器,比较适合小型的应用和嵌入式设备等。
连接数据库
flaskr/db.py文件
import sqlite3

import click
from flask import current_app, g

def get_db():
    if 'db' not in g:
        g.db = sqlite3.connect(
            current_app.config['DATABASE'],
            detect_types=sqlite3.PARSE_DECLTYPES
        )
        g.db.row_factory = sqlite3.Row

    return g.db


def close_db(e=None):
    db = g.pop('db', None)

    if db is not None:
        db.close()
g是一个特殊对象,每一次请求会初始化一次。我们使用g对象在一次访问中存储了数据库连接。当一个请求中多次调用get_db的时候就不用重复创建 数据库连接了。current_app是另一个特殊对象,指向当前正在处理该请求的Flask应用程序。可以理解这是本次请求的上下文。因为我们使用了应用工厂模式,所以现在并没有一个应用对象。get_db将在应用被创建的时候调用,所以我们使用这个对象.sqlite3.connect()使用DATABASE设置的路径,简历数据库连接. 稍后我们会初始化这个数据文件。sqlite3.Row设置查询结果返回的类型,我们设置返回Dict,可以使用栏位名访问列内容。
创建数据表
为我们的博客创建两个表,一个保存用户信息,一个保存我们的文章
flaskr/schema.sql
DROP TABLE IF EXISTS user;
DROP TABLE IF EXISTS post;

CREATE TABLE user (
  id INTEGER PRIMARY KEY AUTOINCREMENT,
  username TEXT UNIQUE NOT NULL,
  password TEXT NOT NULL
);

CREATE TABLE post (
  id INTEGER PRIMARY KEY AUTOINCREMENT,
  author_id INTEGER NOT NULL,
  created TIMESTAMP NOT NULL DEFAULT CURRENT_TIMESTAMP,
  title TEXT NOT NULL,
  body TEXT NOT NULL,
  FOREIGN KEY (author_id) REFERENCES user (id)
);
在 db.py 中增加初始化数据库的代码,我们在命令行执行命令来初始化数据库文件。
# 初始化数据库,创建表
def init_db():
    db = get_db()
    with current_app.open_resource('schema.sql') as f:
        db.executescript(f.read().decode('utf-8'))

# 定义命令行工具
@click.command('init-db')
def init_db_command():
    """Clear the existing data and create new tables."""
    init_db()
    click.echo("完成数据库初始化")
current_app.open_resource('schema.sql')利用当前应用上下文,打开相当应用所在包中的文件。click.command()定义了一个init-db命令行命令,使用该命令来调用指定的函数
自定于命令
flask 内建了 click 扩展用于执行命令行:使用 flask [command] [param ...] 来执行你的自定于命令
@app.cli.command("create-user") 定义命令
@click.argument("name")定义参数
定义一组命令
user_cli = AppGroup('user')
@user_cli.command('create')
@user_cli.argument('name')
 def user_create(name):
   print("user_create")
注册到应用上下文
flaskr/db.py
def init_app(app):
    # 注册数据连接关闭函数
    app.teardown_appcontext(close_db)
    # 注册命令行
    app.cli.add_command(init_db_command)
在数据库初始化的时候执行该操作
flaskr/__init__.py
def create_app():
    app = ...
    # 其他代码。。。

    from . import db
    db.init_app(app)

    return app
执行初始化
flask --app flaskr init-db
执行成功后生成了 instance/flaskr.sqlite 文件
蓝图(blueprint)和视图(view)
视图函数包含我们写的业务代码,用于处理进入的请求,返回响应。Flask使用正则进行请求URL的匹配,来找到他对应的应该进行处理的视图函数。视图函数返回数据Flask将他转化成响应。Flask也可以根据视图函数的名称和参数来生成对应URL。
视图函数有点别扭,如果了解其他框架,视图函数就是action,而blueprint就是 controller .
创建blueprint
Blueprint 用于组织一组相关联的视图和其他代码。相对直接将视图一个个注册到应用中,blueprint进行修改和维护会方便很多。
教程里我们会创建两个blueprint ,一个用于权限控制,一个用于管理文章。每个blueprint将构建为模块。
flaskr/auth.py
import functools

from flask import (
    Blueprint, flash, g, redirect, render_template, request, session, url_for
)
from werkzeug.security import check_password_hash, generate_password_hash

from flaskr.db import get_db

bp = Blueprint('auth', __name__, url_prefix='/auth')
Blueprint 命名为 'auth'.第二个参数__name__ 用于查询如果加载内容. url_prefix注册了该蓝图的URL前缀.
使用 app.register_blueprint() 将蓝图注册到应用中
flaskr/__init__.py
def create_app():
    app = ...
    # existing code omitted

    from . import auth
    app.register_blueprint(auth.bp)

    return app
用户注册
当前我们先使用前后端不分离的方式来开发我们的业务。下面我们来设计我们的业务,
用户注册,当用户访问 /auth/register时我们展示给用户一个表单,用户提交后我们给用户注册到我们系统中,并展示一条成个的信息给用户。
flaskr/auth.py
@bp.route('/register', methods=('GET', 'POST'))
def register():

    if request.method == 'POST':
        # 用户POST提交了表单
        username = request.form['username']
        password = request.form['password']
        # 获取数据库连接
        db = get_db()
        error = None
        #进行基础的数据检查
        if not username:
            error = '必须设置用户名.'
        elif not password:
            error = '必须设置密码.'
        #如果没有错误写入数据库
        if error is None:
            try:
                # 执行SQL INSERT操作
                db.execute(
                    "INSERT INTO user (username, password) VALUES (?, ?)",
                    (username, generate_password_hash(password)),
                )
                # 提交事务
                db.commit()
            except db.IntegrityError:
                # 我们在创建数据库的时候加了唯一性检测,因此报出此异常
                error = f"用户 {username} 已经注册了."
            else:
                #跳转到登录页
                return redirect(url_for("auth.login"))
        #如果有错误则展示错误
        flash(error)
    # 如果是GET方式则渲染表单给用户
    return render_template('auth/register.html')
@bp.route('/register', methods=('GET', 'POST'))注册路径,设置了匹配的请求方式为GET 和POST。request.form是一个保存了表单内容的dict类型变量。直接读取获得用户提交的表单内容。db.execute用于执行一个 INSERT UPDATE 类SQL操作,返回werkzeug.security提供了一些密码加密和检查的库,我们将使用generate_password_hash哈希过的密码存入数据库
用户登录
登录和注册类似
@bp.route('/login', methods=('GET', 'POST'))
def login():
    if request.method == 'POST':
        username = request.form['username']
        password = request.form['password']
        db = get_db()
        error = None
        #查询用户
        user = db.execute(
            'SELECT * FROM user WHERE username = ?', (username,)
        ).fetchone()

        if user is None:
            error = '无效的用户名或者密码.'
        elif not check_password_hash(user['password'], password):
            error = '密码错误.'

        if error is None:
            # 设置Session
            session.clear()
            session['user_id'] = user['id']
            return redirect(url_for('index'))

        flash(error)

    return render_template('auth/login.html')
fetchone()获取查询到的第一条记录check_password_hash对用户输入的密码和数据库存储的hash进行比较session对象是一个跨请求的变量,用于存储用户的一些信息。就是传统的session。
如果用户登录,设置user对象
@bp.before_app_request
def load_logged_in_user():
    user_id = session.get('user_id')
    if user_id is None:
        g.user = None
    else:
        g.user = get_db().execute(
            'SELECT * FROM user WHERE id = ?', (user_id,)
        ).fetchone()
bp.before_app_request() 注册了请求执行前执行的代码段。
登出系统
flaskr/auth.py
@bp.route('/logout')
def logout():
    session.clear()
    return redirect(url_for('index'))
登出比较简单。我们就简单的清除掉session即可。
检查用户登录
在其他模块我们需要检查用户是否已经登录,阻止未登录用户对我们的资源的访问。
def login_required(view):
    @functools.wraps(view)
    def wrapped_view(**kwargs):
        if g.user is None:
            return redirect(url_for('auth.login'))

        return view(**kwargs)

    return wrapped_view
该函数对视图进行了一个装饰,在外层进行检查,如果用户不存在则重定向到登录页。
生成URL
url_for()函数用于生成URL,比如 url_for("hello",param=xxxx) , url_for("auth.login")
模板
现在前后端分离,模板使用率已经很少,但是模板我们页可以用在其他方面,比如 生成代码 等等。
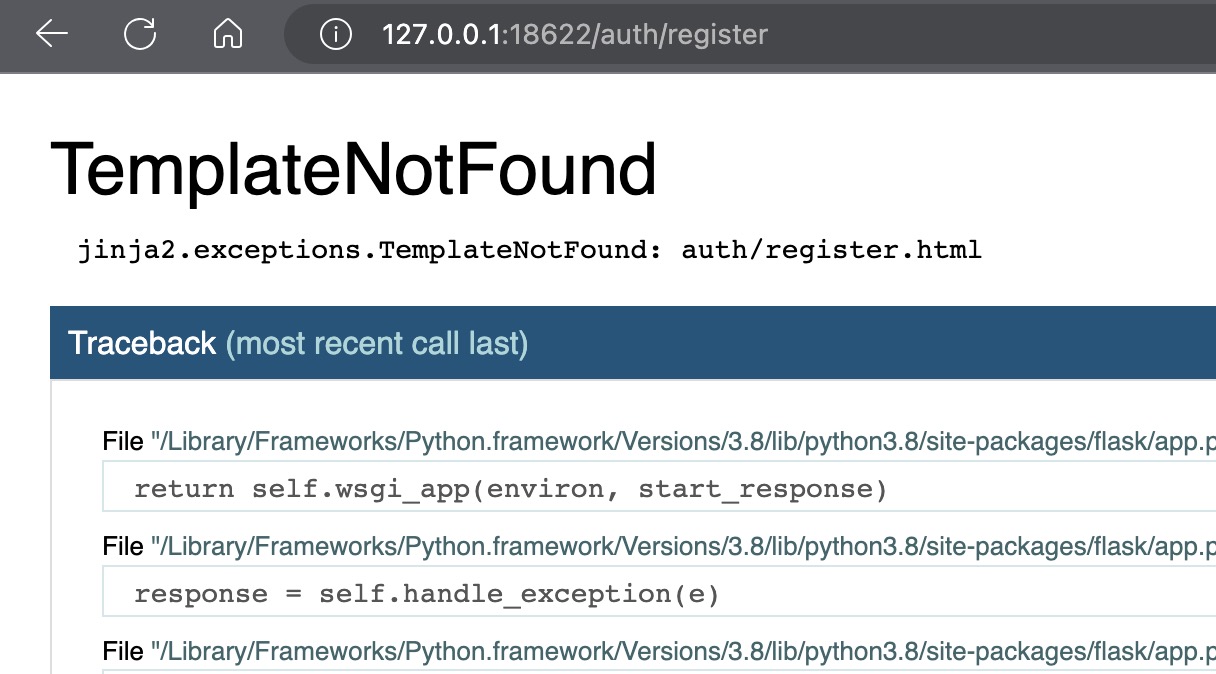
现在我们访问注册页面会报一个 模板找不到的错误。
flask 使用 Jinja 来进行模板渲染。相关语法可以查看文档。
Jinja 使用 {{和 }} 来输出变量的值 ,使用 {%和 %} 来进行流程控制,比如 for,if 等。
布局
通常我们一个网站会有个类似的结构或者样式。比如 页头 页脚 导航烂等。我们使用布局来进行设置。
flaskr/templates/base.html
<!doctype html>
<title>{% block title %}{% endblock %} - Flaskr</title>
<link rel="stylesheet" href="{{ url_for('static', filename='style.css') }}">
<nav>
  <h1>Flaskr</h1>
  <ul>
    {% if g.user %}
      <li><span>{{ g.user['username'] }}</span>
      <li><a href="{{ url_for('auth.logout') }}">退出</a>
    {% else %}
      <li><a href="{{ url_for('auth.register') }}">注册</a>
      <li><a href="{{ url_for('auth.login') }}">登录</a>
    {% endif %}
  </ul>
</nav>
<section class="content">
  <header>
    {% block header %}{% endblock %}
  </header>
  {% for message in get_flashed_messages() %}
    <div class="flash">{{ message }}</div>
  {% endfor %}
  {% block content %}{% endblock %}
</section>
g 变量和 url_for默认可以在模板中使用。
get_flashed_messages()函数用于取得你在 视图函数中调用flash函数发送的内容。
我们在基础模板中定义了3个块
{% block title %} 用于修改标题
{% block header %} 修改页头
{% block content %} 主要页面内容
注册页模板
flaskr/templates/auth/register.html
{% extends 'base.html' %}

{% block header %}
  <h1>{% block title %}注册{% endblock %}</h1>
{% endblock %}

{% block content %}
  <form method="post">
    <label for="username">用户名</label>
    <input name="username" id="username" required>
    <label for="password">密码</label>
    <input type="password" name="password" id="password" required>
    <input type="submit" value="Register">
  </form>
{% endblock %}
{% extends 'base.html' %} 告诉模板引擎,当前模板要替换基础模板的区块。
登录模板
flaskr/templates/auth/login.html
{% extends 'base.html' %}

{% block header %}
  <h1>{% block title %}Log In{% endblock %}</h1>
{% endblock %}

{% block content %}
  <form method="post">
    <label for="username">用户名</label>
    <input name="username" id="username" required>
    <label for="password">密码</label>
    <input type="password" name="password" id="password" required>
    <input type="submit" value="登录">
  </form>
{% endblock %}
静态文件
现在页面有点丑,需要加载css来修改页面样式。
{{ url_for('static', filename='style.css') }}
生成静态文件的URL , Flaskh自动到 flaskr 目录中找static目录里的style.css文件.
/flaskr/static/style.css
html { font-family: sans-serif; background: #eee; padding: 1rem; }
body { max-width: 960px; margin: 0 auto; background: white; }
h1 { font-family: serif; color: #377ba8; margin: 1rem 0; }
a { color: #377ba8; }
hr { border: none; border-top: 1px solid lightgray; }
nav { background: lightgray; display: flex; align-items: center; padding: 0 0.5rem; }
nav h1 { flex: auto; margin: 0; }
nav h1 a { text-decoration: none; padding: 0.25rem 0.5rem; }
nav ul  { display: flex; list-style: none; margin: 0; padding: 0; }
nav ul li a, nav ul li span, header .action { display: block; padding: 0.5rem; }
.content { padding: 0 1rem 1rem; }
.content > header { border-bottom: 1px solid lightgray; display: flex; align-items: flex-end; }
.content > header h1 { flex: auto; margin: 1rem 0 0.25rem 0; }
.flash { margin: 1em 0; padding: 1em; background: #cae6f6; border: 1px solid #377ba8; }
.post > header { display: flex; align-items: flex-end; font-size: 0.85em; }
.post > header > div:first-of-type { flex: auto; }
.post > header h1 { font-size: 1.5em; margin-bottom: 0; }
.post .about { color: slategray; font-style: italic; }
.post .body { white-space: pre-line; }
.content:last-child { margin-bottom: 0; }
.content form { margin: 1em 0; display: flex; flex-direction: column; }
.content label { font-weight: bold; margin-bottom: 0.5em; }
.content input, .content textarea { margin-bottom: 1em; }
.content textarea { min-height: 12em; resize: vertical; }
input.danger { color: #cc2f2e; }
input[type=submit] { align-self: start; min-width: 10em; }
创建文章的蓝图
flaskr/blog.py
from flask import (
    Blueprint, flash, g, redirect, render_template, request, url_for
)
from werkzeug.exceptions import abort

from flaskr.auth import login_required
from flaskr.db import get_db

bp = Blueprint('blog', __name__)
注册蓝图
flaskr/__init__.py
app.register_blueprint(blog.bp)
app.add_url_rule('/', endpoint='index')
app.add_url_rule('/', endpoint='index') 设置名称 "index"对应的 URL规则。
首页
@bp.route('/')
def index():
    db = get_db()
    posts = db.execute(
        'SELECT p.id, title, body, created, author_id, username'
        ' FROM post p JOIN user u ON p.author_id = u.id'
        ' ORDER BY created DESC'
    ).fetchall()
    return render_template('blog/index.html', posts=posts)
fetchall()函数获取了查询到的全部数据。传递到模板进行显示
flaskr/templates/blog/index.html
{% extends 'base.html' %}

{% block header %}
  <h1>{% block title %}Posts{% endblock %}</h1>
  {% if g.user %}
    <a class="action" href="{{ url_for('blog.create') }}">发表</a>
  {% endif %}
{% endblock %}

{% block content %}
  {% for post in posts %}
    <article class="post">
      <header>
        <div>
          <h1>{{ post['title'] }}</h1>
          <div class="about">作者: {{ post['username'] }} 发布时间: {{ post['created'].strftime('%Y-%m-%d') }}</div>
        </div>
        {% if g.user['id'] == post['author_id'] %}
          <a class="action" href="{{ url_for('blog.update', id=post['id']) }}">编辑</a>
        {% endif %}
      </header>
      <p class="body">{{ post['body'] }}</p>
    </article>
    {% if not loop.last %}
      <hr>
    {% endif %}
  {% endfor %}
{% endblock %}
- 首页通过
{% if g.user %}判断用户的登录状态展示不同的按钮以便用户进行文章的编辑。 {% for post in posts %}在模板中对posts变量进行循环输出。他包含的区块会不断的迭代posts变量中的值进行输出。
创建文章
创建和注册类似,用户提交一个表单我们将表单内容检查后保存到数据库,唯一不同点在于我们增加了 @login_required ,用于检查必须是登录用户才能发布文章。
flaskr/blog.py
@bp.route('/create', methods=('GET', 'POST'))
@login_required
def create():
    if request.method == 'POST':
        title = request.form['title']
        body = request.form['body']
        error = None

        if not title:
            error = '标题必填.'

        if error is not None:
            flash(error)
        else:
            db = get_db()
            db.execute(
                'INSERT INTO post (title, body, author_id)'
                ' VALUES (?, ?, ?)',
                (title, body, g.user['id'])
            )
            db.commit()
            return redirect(url_for('blog.index'))

    return render_template('blog/create.html')
模板文件 flaskr/templates/blog/create.html
{% extends 'base.html' %}

{% block header %}
  <h1>{% block title %}发布文章{% endblock %}</h1>
{% endblock %}

{% block content %}
  <form method="post">
    <label for="title">标题</label>
    <input name="title" id="title" value="{{ request.form['title'] }}" required>
    <label for="body">内容</label>
    <textarea name="body" id="body">{{ request.form['body'] }}</textarea>
    <input type="submit" value="保存">
  </form>
{% endblock %}
编辑和删除
编辑和删除我们合并到一个界面,我们都需要根据ID读取文章,然后检查是否是登录用户。然后才能执行该操作。因为两个视图方法都要根据ID来获取文章内容,我们可以将他包装成一个函数。
flaskr/blog.py
#根据ID获取文章
def get_post(id, check_author=True):
    post = get_db().execute(
        'SELECT p.id, title, body, created, author_id, username'
        ' FROM post p JOIN user u ON p.author_id = u.id'
        ' WHERE p.id = ?',
        (id,)
    ).fetchone()

    if post is None:
        abort(404, f"文章[{id}]不存在.")

    if check_author and post['author_id'] != g.user['id']:
        abort(403,"你不是作者,无法查看该文章")
    return post
abort()函数会返回HTTP 错误码,如果指定了第二个参数提醒内容,则会同时展示你提供的内容,否则会展示默认内容,比如 404->Not Found ,403->Forbiddencheck_author参数定义了是否要检查取出来的文章是不是当前用户。只需要比对g.user[id]和文章创建时记录的作者是否一致即可。
@bp.route('/<int:id>/update', methods=('GET', 'POST'))
@login_required
def update(id):
    post = get_post(id)

    if request.method == 'POST':
        title = request.form['title']
        body = request.form['body']
        error = None

        if not title:
            error = '标题必填.'

        if error is not None:
            flash(error)
        else:
            db = get_db()
            db.execute(
                'UPDATE post SET title = ?, body = ?'
                ' WHERE id = ?',
                (title, body, id)
            )
            db.commit()
            return redirect(url_for('blog.index'))

    return render_template('blog/update.html', post=post)
- 和之前的视图函数不同,update函数增加了一个
id参数。通过路由上定义的<int:id>来进行匹配获取,实际的uRL 会类似 :/post/1/update. 如果路由定义时不指定类型,定义为<id>,则会匹配为字符串。使用url_for函数时也需要加上参数 :url_for("post.update",id=1)
他们的视图差不太远,合并到了一个里面。
flaskr/templates/blog/update.html
{% extends 'base.html' %}

{% block header %}
  <h1>{% block title %}编辑: "{{ post['title'] }}"{% endblock %}</h1>
{% endblock %}

{% block content %}
  <form method="post">
    <label for="title">标题</label>
    <input name="title" id="title"
      value="{{ request.form['title'] or post['title'] }}" required>
    <label for="body">内容</label>
    <textarea name="body" id="body">{{ request.form['body'] or post['body'] }}</textarea>
    <input type="submit" value="保存">
  </form>
  <hr>
  <form action="{{ url_for('blog.delete', id=post['id']) }}" method="post">
    <input class="danger" type="submit" value="删除" onclick="return confirm('您确定要删除吗? 删除后无法恢复。');">
  </form>
{% endblock %}
删除操作比较简单
@bp.route('/<int:id>/delete', methods=('POST',))
@login_required
def delete(id):
    get_post(id)
    db = get_db()
    db.execute('DELETE FROM post WHERE id = ?', (id,))
    db.commit()
    return redirect(url_for('blog.index'))
运行一下
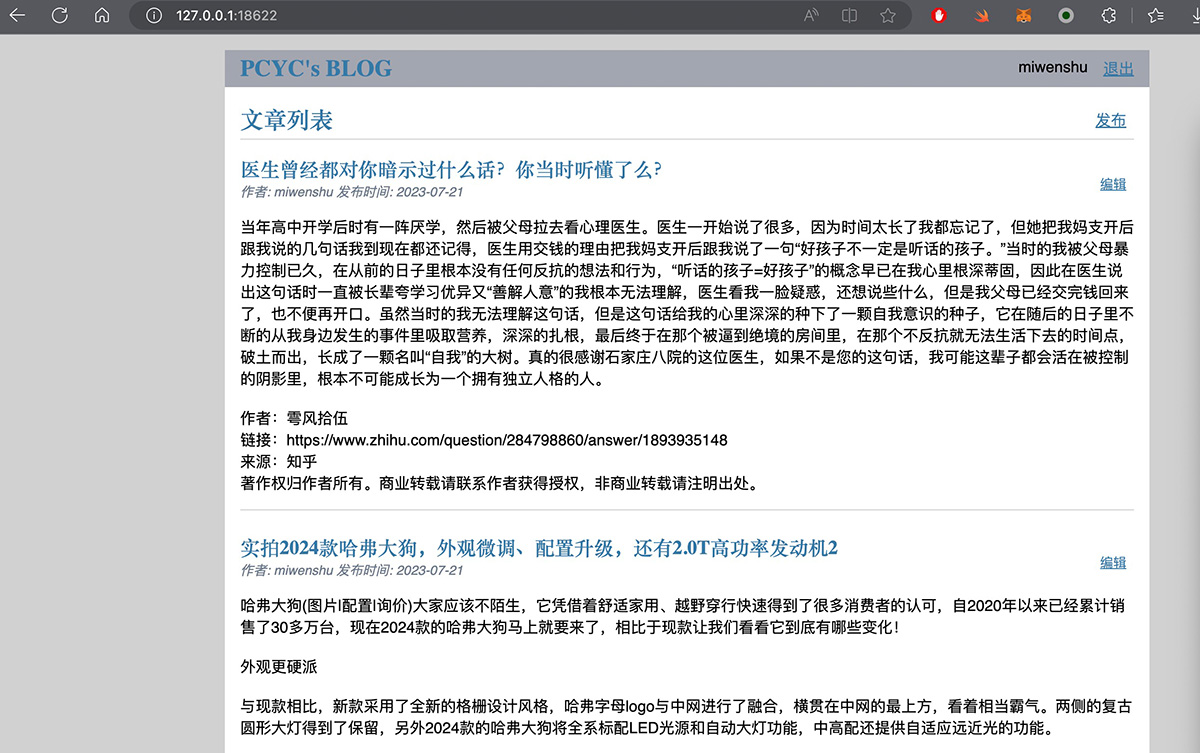
这样我们就完成了一个有基本功能的博客,可以运行一下看看
flask --app flaskr run -h 0.0.0.0 --debug -p 18622
打开浏览器查看 http://127.0.0.1:18622
「真诚赞赏,手留余香」
 我的乐与怒
我的乐与怒
真诚赞赏,手留余香
使用微信扫描二维码完成支付